In this article, I will describe what I wish I had done earlier when I started using Octatrack, looking back.
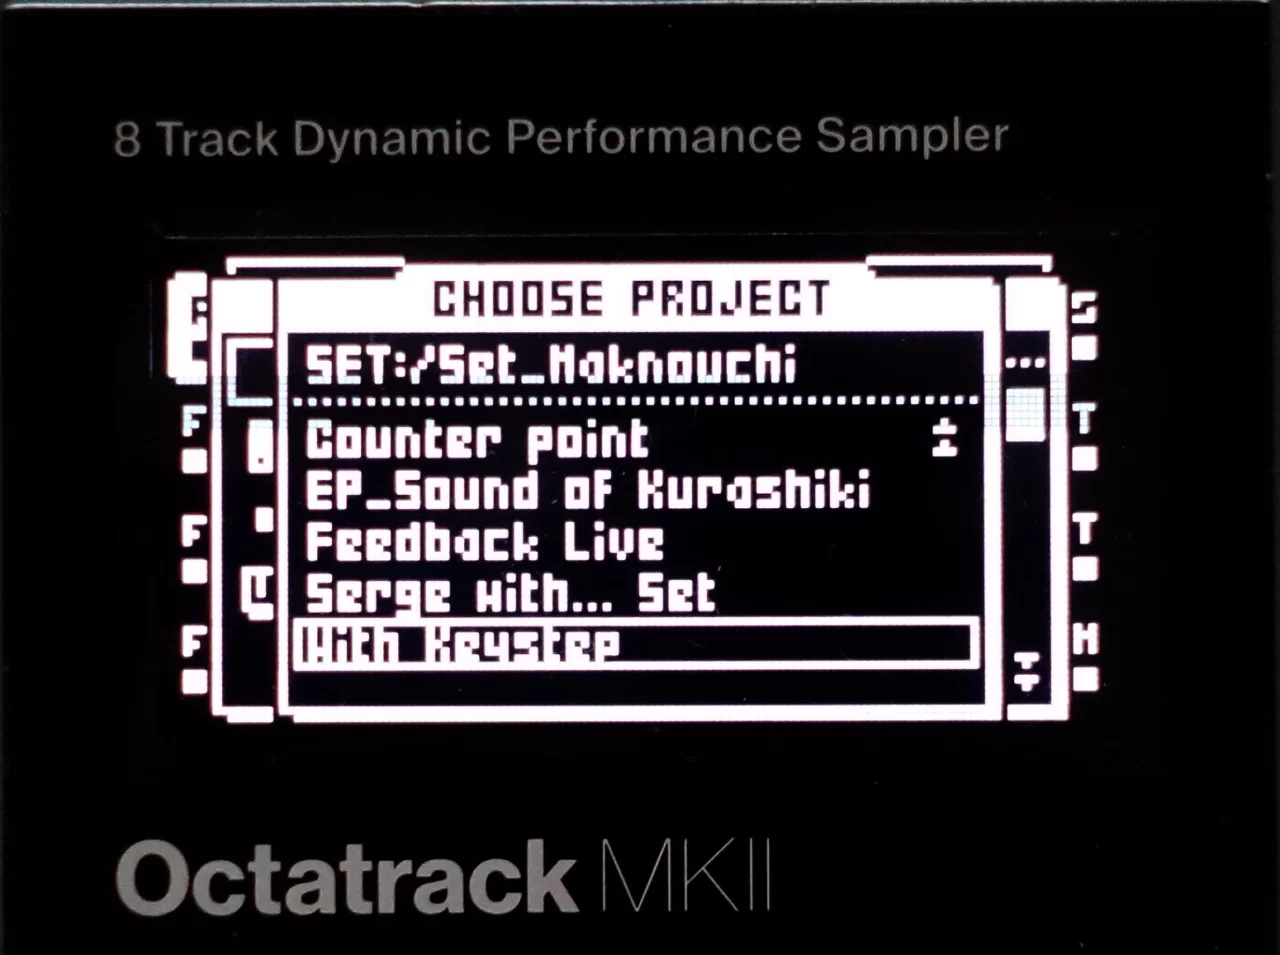
Create a template
First and foremost, Octatrack allows for very detailed settings, from utility settings to each audio track, MIDI track, recording behavior, and more. This makes it possible to pursue the settings that best suit your needs, but if the settings are not completely set up each time you start a new project, you will find yourself stumped every time you try to operate it.
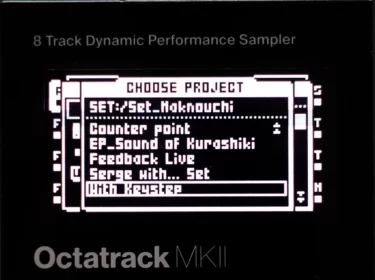
In particular, when you start a new project after working on one project for a while, you will have to deal with problems such as operations that you were able to perform without thinking in the previous project not working properly, which can be very stressful and time-consuming, which is a strong disadvantage. Since it is said that even just learning this equipment takes time, we recommend that you create a project as a template from the beginning if possible, in order to avoid getting stuck with functions that you have already grasped once.
Once you have created a template, save it there immediately with a different name so that the information for each track is not overwritten, and work on that project from then on. Then, when you find a setting you like, you can start a template project and make improvements.
We believe that repeating this process is the fastest way to learn to handle Octatrack (without stress).
Since the Octatrack can be linked with other equipment quite flexibly, it is useful to save the MIDI settings, audio in gain, and parameters of each track for each piece of equipment to be combined as a separate project template for that linkage. I save the settings for modulars, pedal effectors, MIDI keyboards when connected, etc. as separate templates for each.
Recording Setup
Speaking from personal experience, sampling is probably the most confusing part of Octatrack operation at first. I too have not sampled with Octatrack itself, because I had to make a template as described above and get stuck every time until I found a setting that I could use without thinking about it.
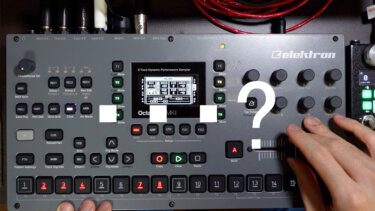
Most important.Recognize the difference between recording mode and normal modeI think that is what it is all about.
In retrospect I think I didn't really understand the difference at first and was confused. (In fact, it would be hard to tell. They both glow the exact same color when the trigger is placed.)
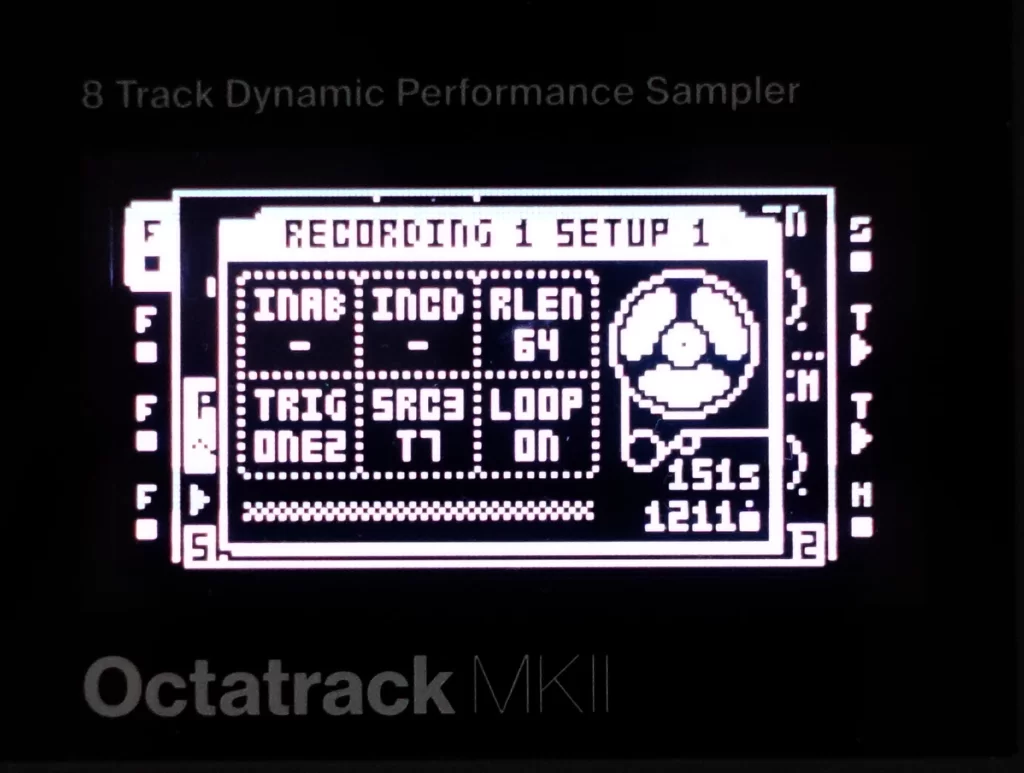
Recording mode refers to the state in which the menu entered by FUNCTION+REC1, REC2, or REC3 is displayed.
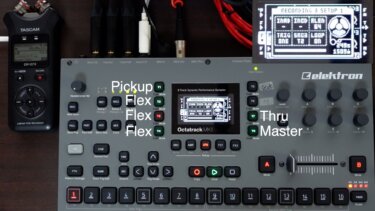
It is important to set the INAB, INCD, SRC3, and RLEN for each track recorder here to suit your own use and create a template to avoid unexpected behavior during recording (INAB, INCD, and SRC3 are items that set the sampling source; RLEN is the recording time).
The Octatrack has two ways of sampling: manually and automatically by placing a trigger (recorder trigger) in recording mode.
I always do the latter. I always set RLEN to 64 and sample exactly 64 steps. I also place a one-shot trigger on the first step of the recorder trigger (FUNCTION+TRIG), so that when I want to sample, I just press YES in recording mode and it automatically starts sampling. This makes it possible to record almost without thinking.
Incidentally, if you place a regular trigger instead of a one-shot trigger at this time, the recording will start overwriting every time the sequencer comes to the first step, so I find it easiest to use a one-shot trigger.
There are many other points that can be set, but I think the key to quickly getting along with this machine and being able to concentrate on production is to fill in the detailed settings and incorporate them into the template so that it can be used sensibly without having to think about every single thing as described above.
We hope this article will be helpful to those who are just starting to use Octatrack.